
Welcome back to the basics. In this post, let's talk about ISOMETRIC drawing ... (again).
(For past posts about isometric drawings, tips, techniques and practices, click >> ISOMETRIC)

Usefulness
Definitely one of the most effective (and commonest) 3D drawing technique around. One isometric perspective shows all three views of a single object.
The downside is when you have a looooooog object, this is where it begins to look funny. You know that when an object is far away, visually, they get smaller. Not that they become physically smaller, but perspectively, due to distance, they appear smaller. But that is not the case at all with an isometric drawing. You can have a full kilometer long 20mmx20mm cross section bar drawn full-scale on paper, the end of the rod will look just as big (or tiny) as the front.
If you must solve that problem of forever-parallel-lines, the close cousin of isometric is the 2-point perspective. Just in case you might be curious about who's the cousin of 1-point perspective -- that's the oblique drawing.
Applied Isometric Drawings
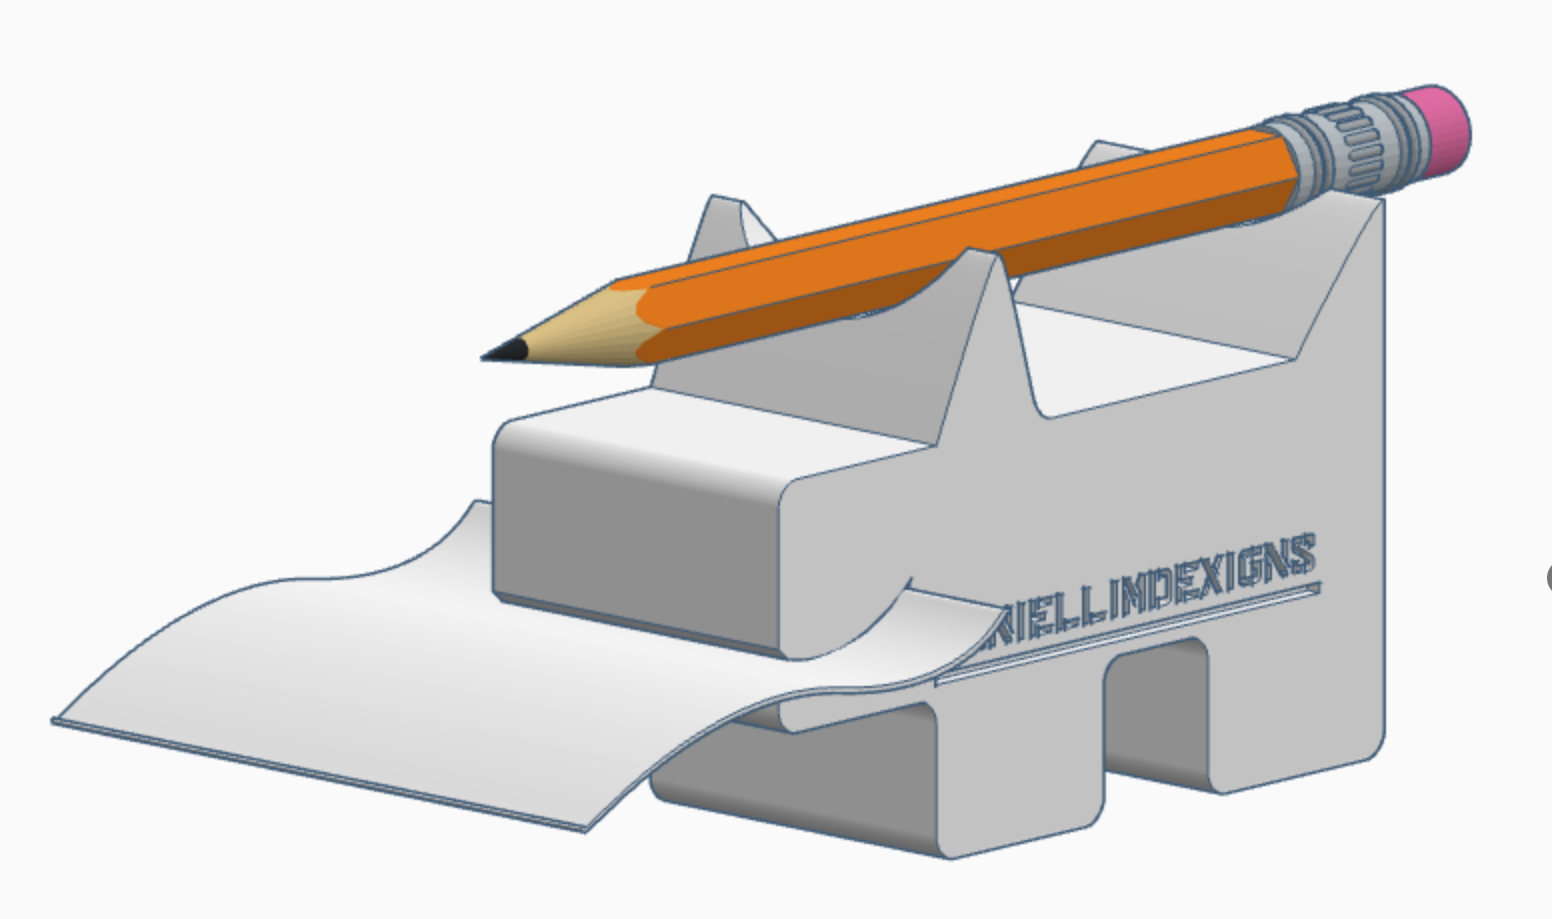
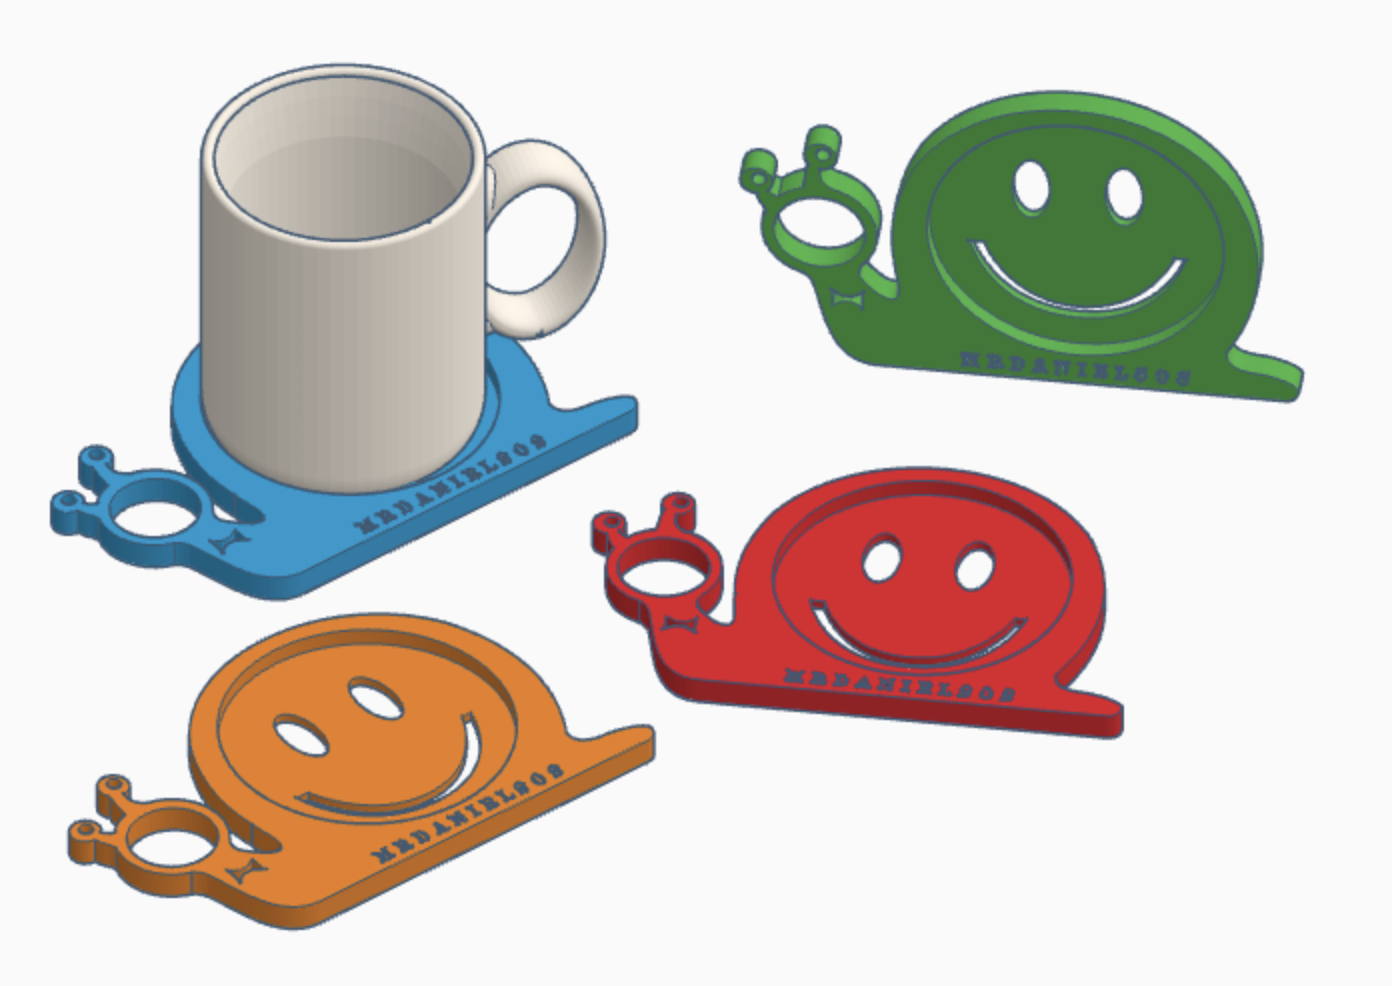
In the real world of objects and products, things are more than just three pairs of parallel lines.
In addition to learning how to draw a basic 3D isometric block (long, short, wide, narrow, fat, skinny, and so on), you've got to be able to manage slopes, curves, slots, holes, debosses and embosses too (see here >> ISOMETRIC). Have a look around you. Identify how many things you have that is a square block. Probably none.
The example (below) shows the evolution of ONE basic 3D isometric block, expanding into an infinite surficial possibilities. Generally, the following list are three extras mixed into and/or added to a block, to make any known or imagined forms:
1. block cuts and add-ons (stack ups)
2. slope cuts (non-isometric lines)
3. ellipse (holes, fillets)
One VERY IMPORTANT (or rather, INTERESTING) point to note, is that, each of the three extras listed above MUST (or preferably) be generated from ... an exactly proportioned isometric block.
Look closely at each drawing. You'll notice in every cut, slot, hole, slope, and so on, is a guide-box. A square (or rectangular) cut is another wire-framed box within or outside (stacked or extended). A non-isometric slope is derived from two points marked on two isometric edges. An ellipse (the isometric perspective of a 2D circle) - from an isometric surface - on both ends of a block makes a cylinder, or a flat-topped cone.


